The pros and cons of renovation versus a new build

At some point in your life you will probably find yourself asking – should I buy a new build or instead consider a renovation project?

Perhaps you’re a first time buyer unsure which option is right for you, or maybe you’re already a home owner undecided whether your second home should be a repeat of your initial decision or something different.

It’s not always an easy or obvious decision to make as you may not have an existing strong preference. Therefore, I have explored the pros and cons of both options in more detail below to assist with your decision making.

New Build – The Pros

  • Be the first to occupy the building! No previous owners or tenants to worry about meaning you can move straight in. It should also be left tidy and clean as the developers will have a vested interest in your satisfaction.
  • No onward chains to complicate the house buying process – this is particularly appealing to first time buyers as the availability of the house being purchased is not dependant on another being sold.
  • It’s brand new – everything will be fresh and clean ready to be lived in from the get go.
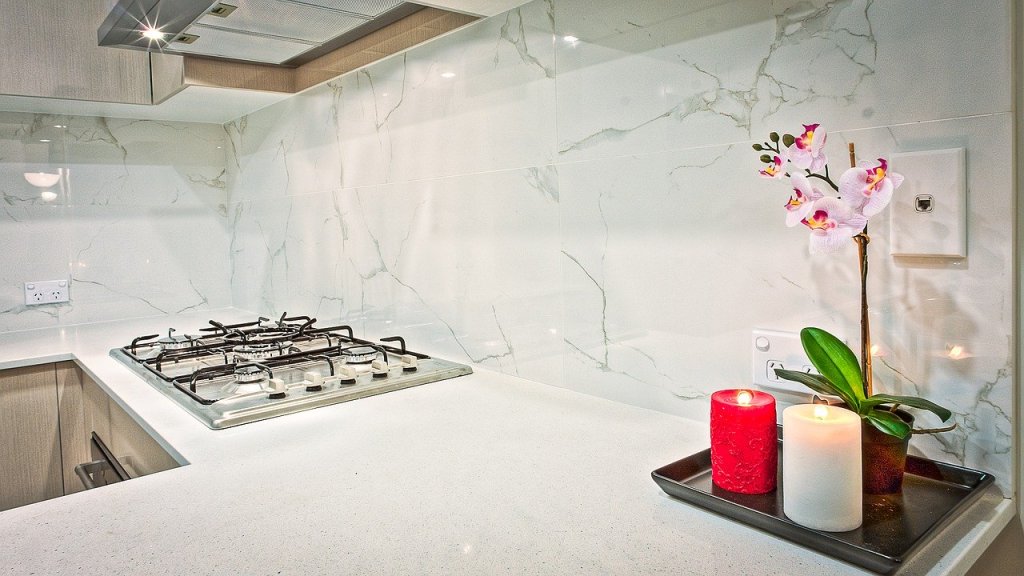
  • Personal decor choices – during the build there will be opportunities to choose features such as your kitchen appliances, bathroom fittings and flooring options. The house will also be a blank canvas as most walls will be painted with a neutral palette.
  • Everything will be modern and convenient – new build layouts are designed for modern living with open spaces.
  • Built with today’s health and safety standards – often come with a builder’s guarantee to give you peace of mind.

Renovation – The Pros

  • More solid and better built – older houses usually hold qualities that have been lost in modern designs.
  • More spacious – while older houses are often made up of more separate rooms they do tend to be bigger in size with more floor space and storage.
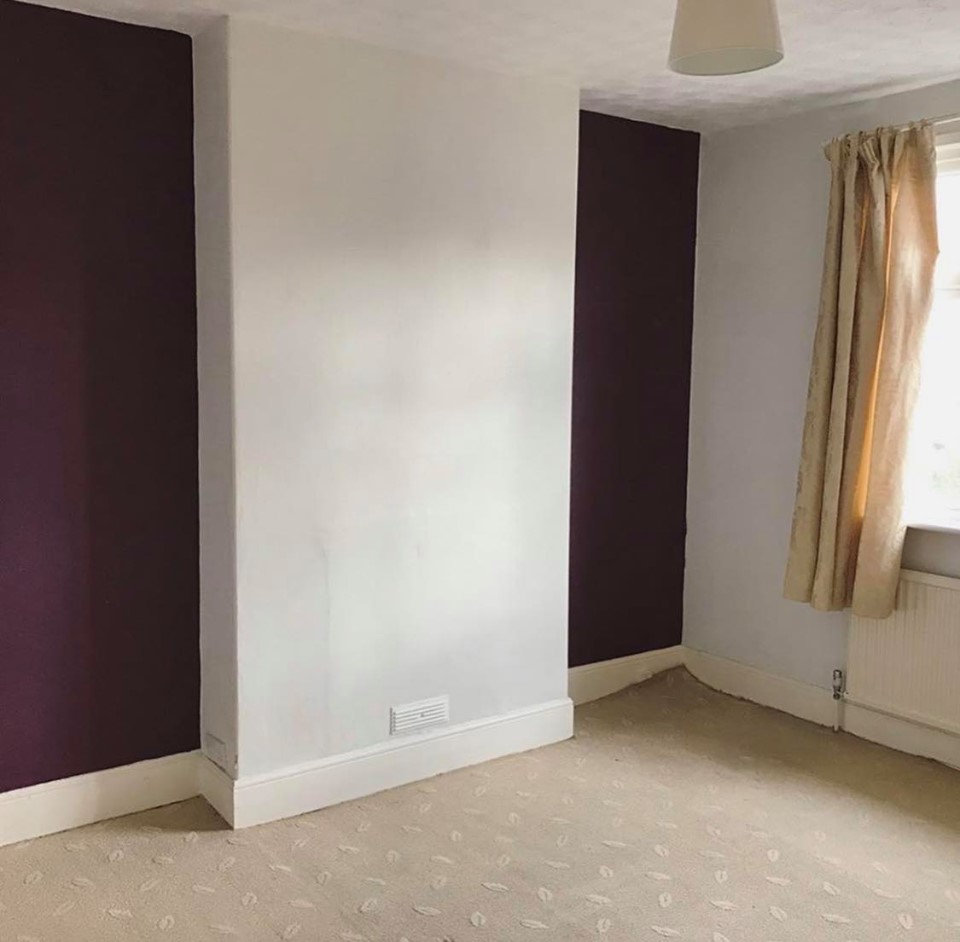
  • Personalisation of property – if you’re carrying out a full renovation then you can literally start from scratch and choose everything exactly as you want it (budget permitting)
  • Hands on or hands off – you may feel up to the challenge of renovating yourself, but if you would rather not get messy, then it’s simple enough to find tradespeople to do the work for you! If you’re undecided whether you should renovate a house yourself or hire a professional then please read here for guidance.
  • Character and charm – there’s no denying that period houses provide beautiful features that new builds don’t (but then I may be biased here!)
  • Service charges are more manageable – if you’re considering buying a flat then the costs are often more affordable on older properties.
  • Investment – older houses are usually better money makers as you can ‘add value’ with the renovations you carry out.

New build – The Cons

  • They’re built quickly – and for this reason may not be as solid or stable as an older property.
  • Snagging list – new builds usually present a number of issues such as settling in cracks which will need to be seen to after you’ve moved in.
  • Can be approximately 20-25% more expensive – you’re often paying for the convenience and ‘newness’ of the property.
  • Possibility for negative equity – there have been warnings regarding the government’s help to buy scheme so please be wary of this.
  • High service charge – monthly fees for the upkeep of the glamourously designed buildings, gardens and parks are common and can be expensive. This can also cause issues when selling the property on.
  • Location – new build developments may be squeezed into less desirable areas such as the outskirts of towns and cities with no nearby amenities.
  • Pricey decor/appliances – buying your appliances via another source could prove to be much cheaper and will provide more options.
  • Buying off plan – as your house is probably not built yet you will need to make a decision based on plans of how it should look and promises of the quality.
  • Showrooms can be misleading – professionals that dress the rooms in a show home are very skilled at creating illusions of more space.
  • Smaller rooms – in order to fit more houses on to a plot, due to investment purposes for the developer, rooms are usually smaller than older builds.
  • Potential for delays – there is often a knock on effect during a development which may mean that your home takes much longer to build than anticipated.

Renovation – The Cons

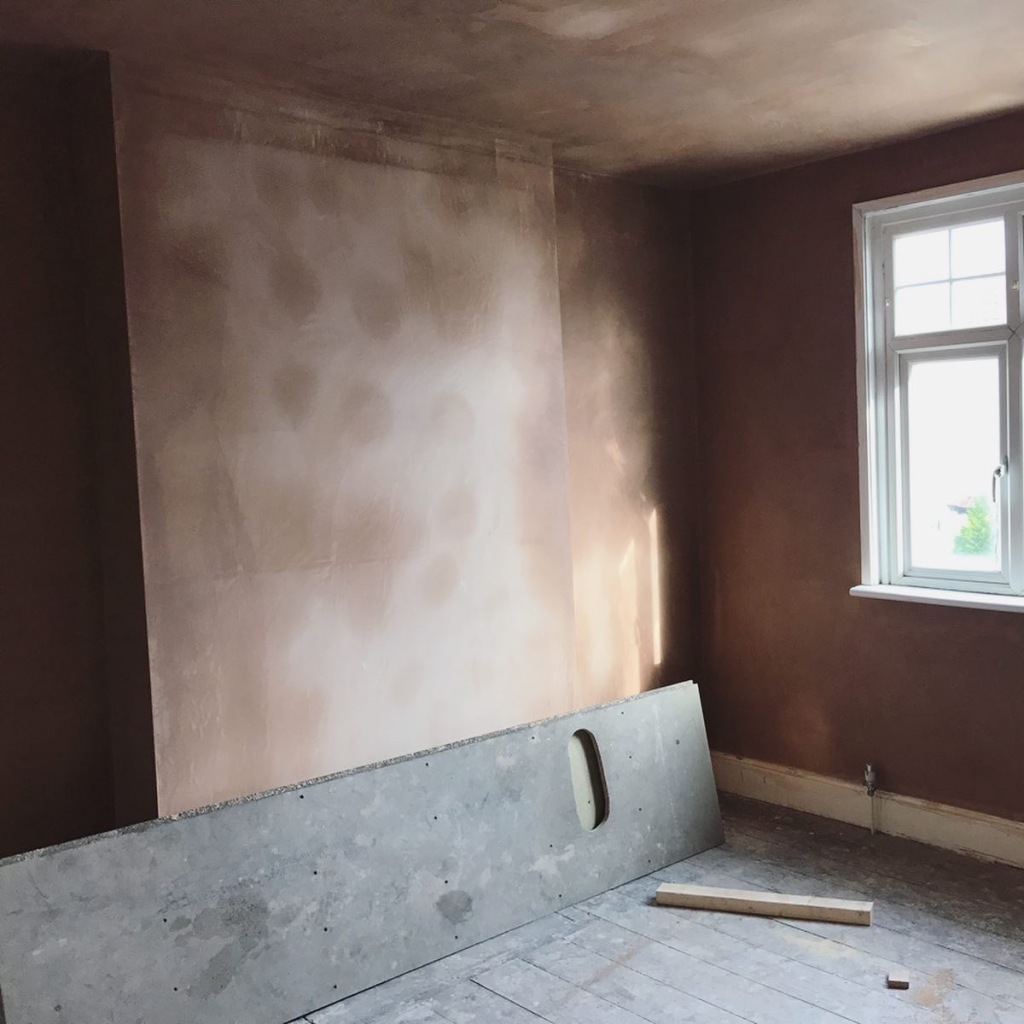
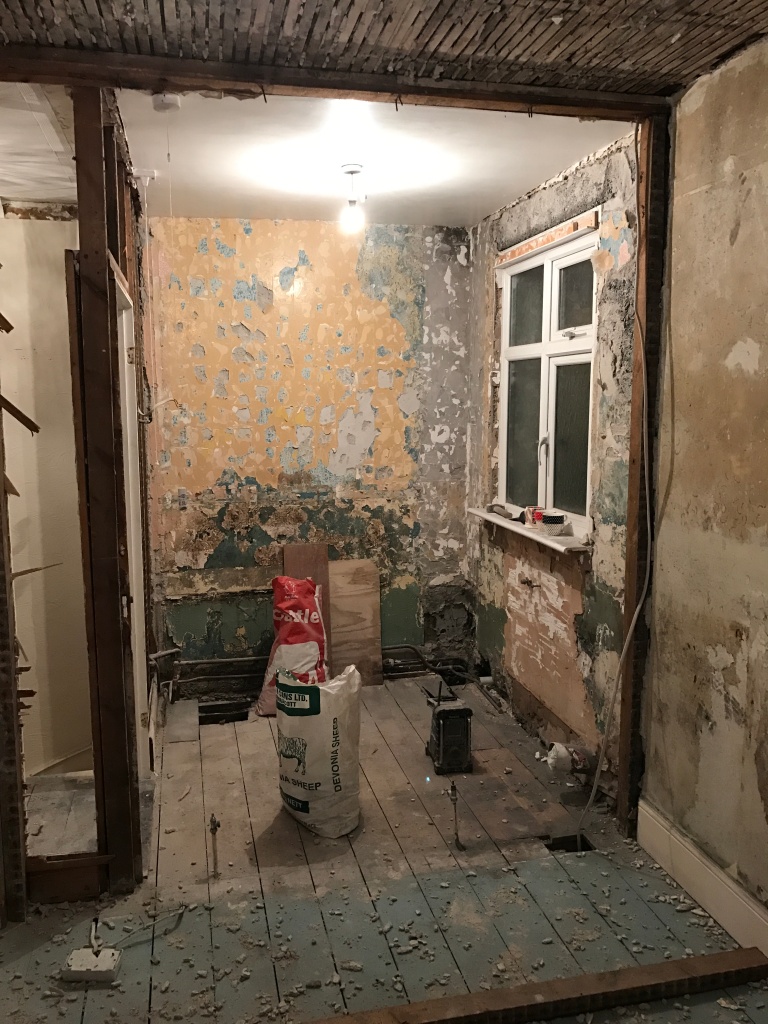
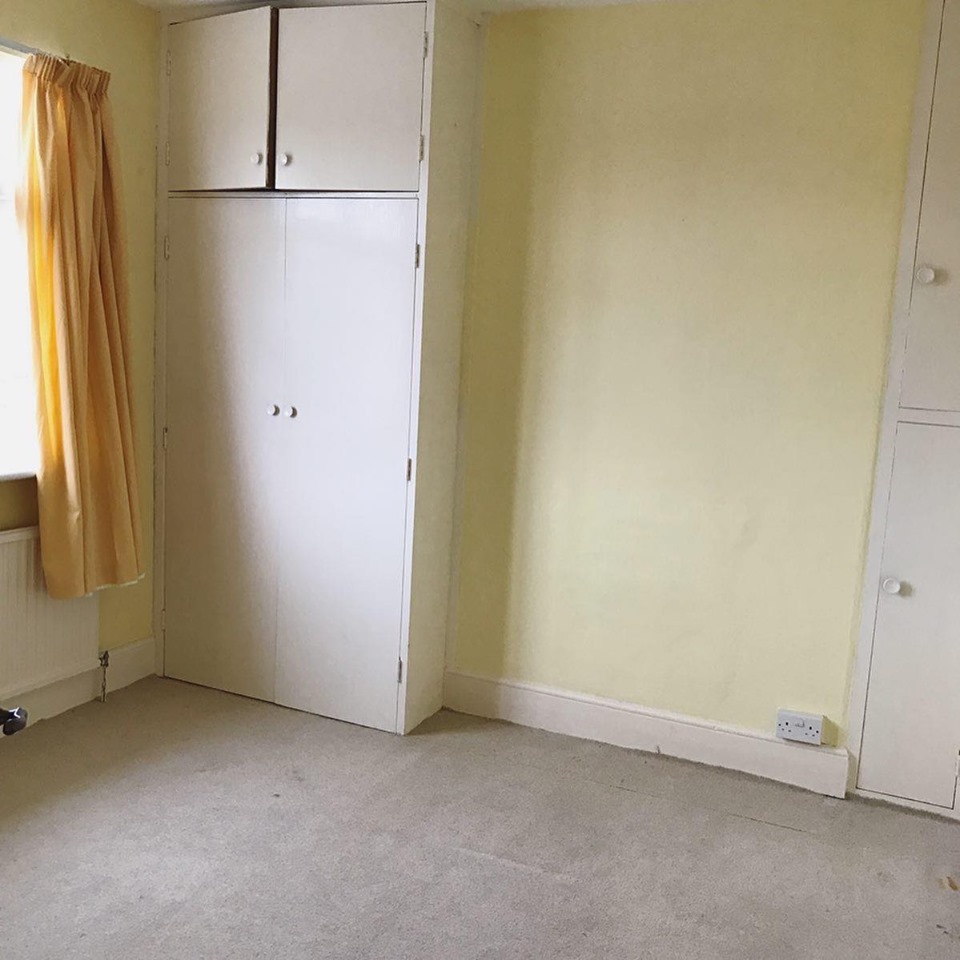
  • Damp, dark, dreary, and dated – older built houses in need of renovation are cheaper for a reason and you will need to deal with a variety of tasks in order to create a comfortable living space. Be prepared to have to see through this and imagine the potential!
  • Planning permission needed for extensions – if you want to expand the current building then it is essential that you gain approval before going ahead to avoid any legal implications.
  • Be careful about area and neighbours – ‘Buy the worst house on the best street’ is cracking advice for those looking to renovate.
  • Building survey required – this is advised to ensure there are no issues (such as asbestos or Japanese Knotweed) which could cause you problems in future.
  • Renovation work can be expensive and it is easy to go over budget – savings can get used up very quickly so it’s important to be realistic about how much you are able to spend.
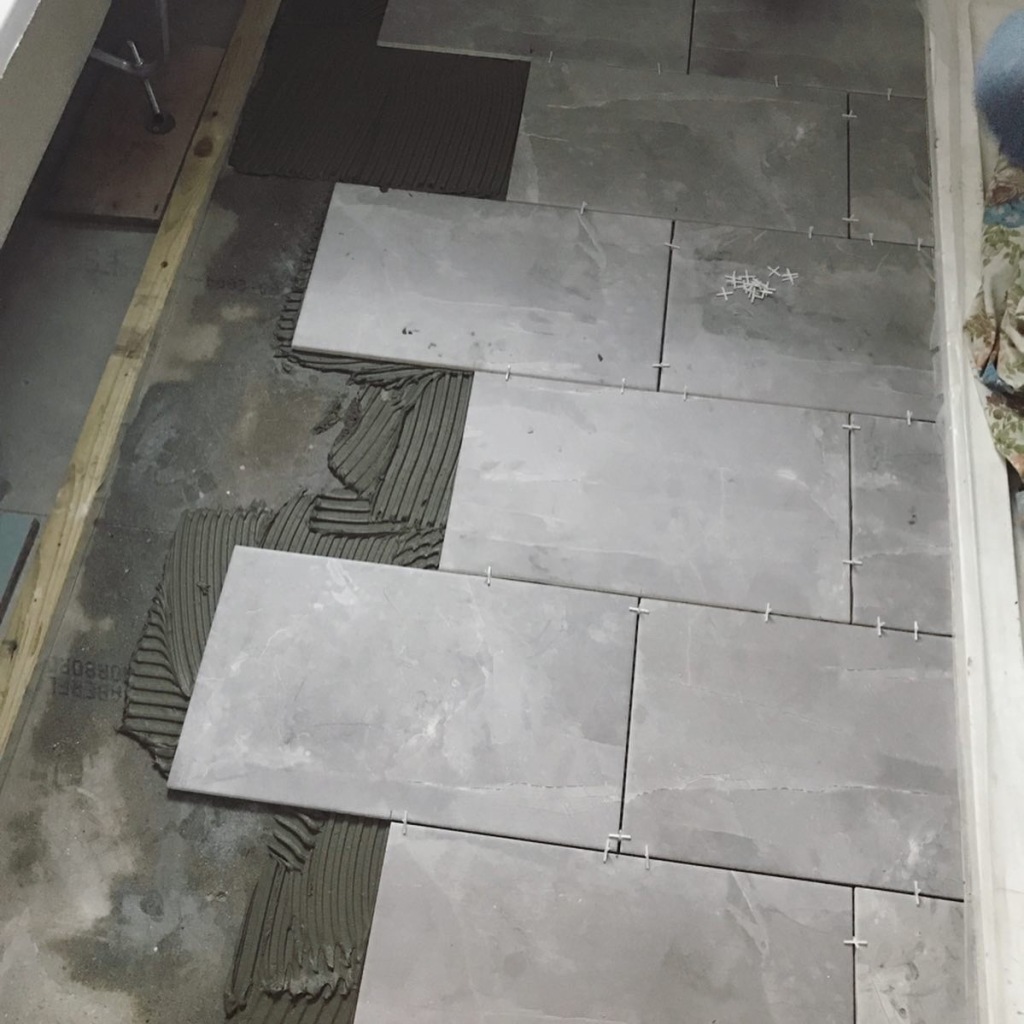
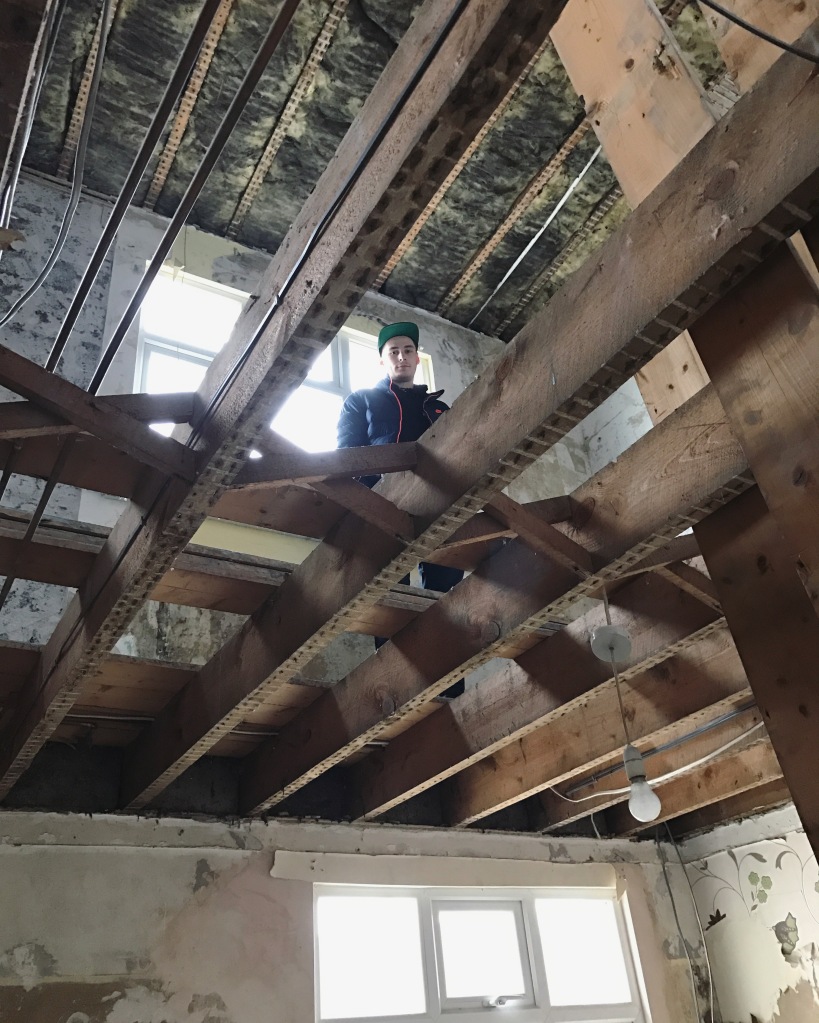
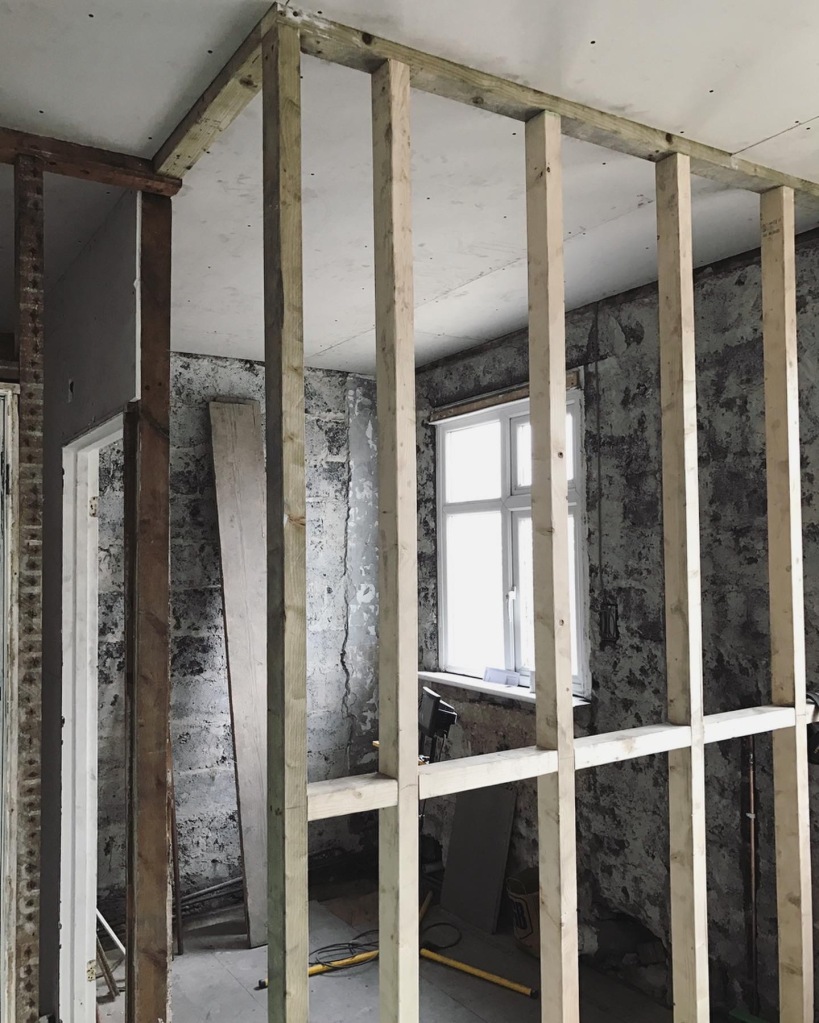
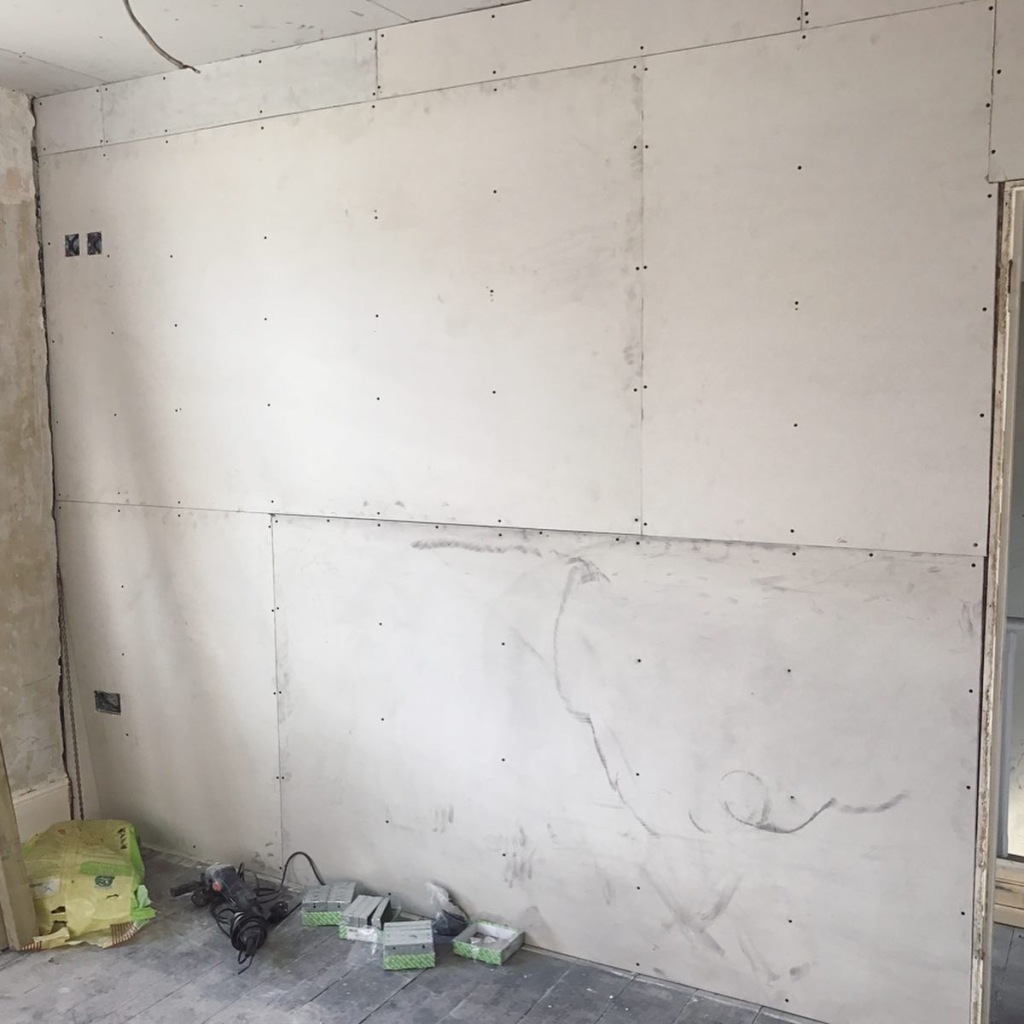
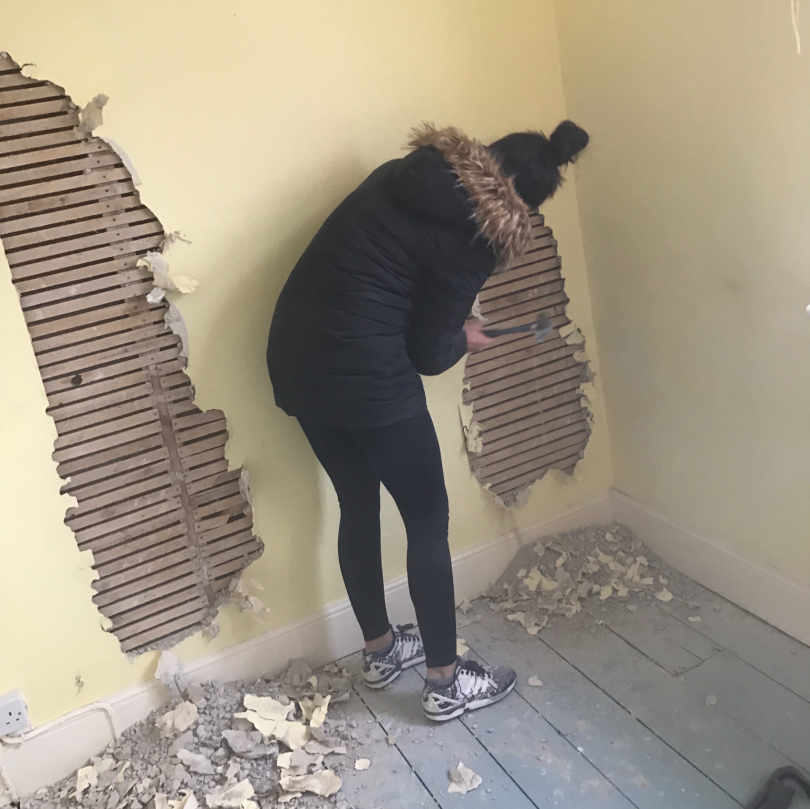
  • Lots of effort required – even if you’re having the work carried out by builders, renovation involves a lot of project management and potential stress so be warned! To see just what can be involved, take a look at our experience here.
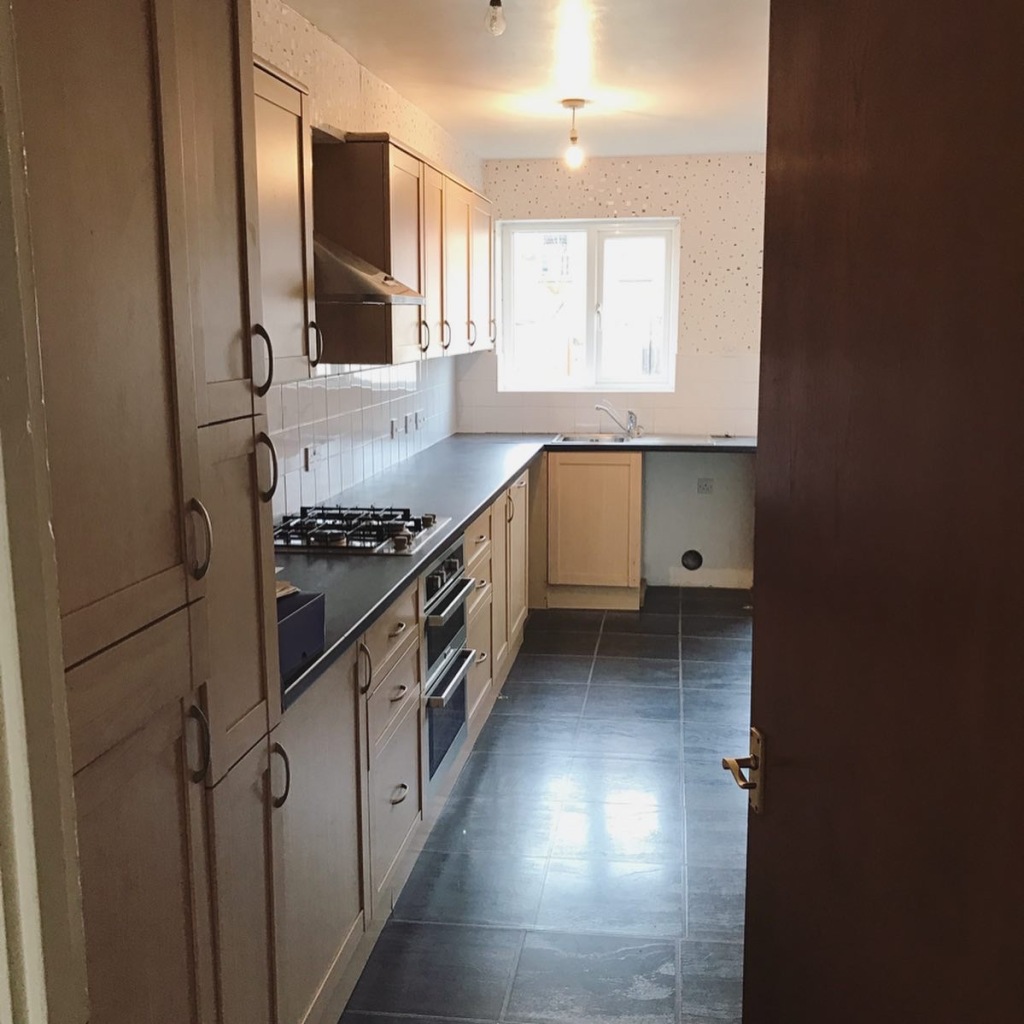
  • Alternative accommodation needed or live in and amongst the destruction! Not everyone is lucky enough to be able to move back in with their parents to be able to renovate before moving in, so it’s important to think about living arrangements, especially if you’re ripping out important parts of the home such as the kitchen and bathroom.

So, there you have it! A fairly in-depth look at the pros and cons of renovation and new builds. Yes, there are many factors to consider, such as time, finance, and taste, but there is no such thing as a wrong decision, as you will learn so much whichever route you take. However, the above should enable you to decide which option feels right for you based on your current circumstances.

I’d love to hear your preferences regarding buying a new build or a renovation project. Let me know in the comments below!

The pressure to spend to keep up with trends

If you follow me on Instagram, you’ll know that the platform has been the main focus of my efforts, since starting The Renovation Lab in April. Becoming a part of the renovation/home and interiors community has been an absolute pleasure with everyone being so welcoming and kind (you can read my first post here!).

Lockdown certainly saw a growth in similar accounts, as we all came together to share our homes, renovation journeys, and interior passion, during what was an unusual time for all. DIY and decor gave many the necessary distraction to fill the extra time given to us, while we were confined to our four walls, asides from an hour of daily exercise (that already feels like a lifetime ago!).

However, it would seem that plenty can also relate to the overwhelming pressure of social media since using Instagram to share renovations, with the need for constant interaction and an abundance of content to keep up, not forgetting the emphasis on likes and follower numbers.

It seems to have taken away from the initial love of our home interests, instead inducing a feeling of not being good enough, or having to conform in order to ‘fit in’ and be as influential as possible.

I must admit that I have taken a couple of days off from Instagram this week, in order to reflect, and it has definitely reset my outlook. I’ve reconnected with my initial mission and have realised that Instagram has taken me down a different path to the one I initially wanted to pursue.

For me, interiors isn’t what I’m best at, although it is certainly an area I am inspired by. My passion to start this blog came from being fascinated with the transformation of a house to a home. Not forgetting that I love to write and support others while doing so. Therefore, my plan is to go back to sharing the raw and real parts of a renovation to provide useful information and tips for you all looking to embark on a similar journey.

On a side note, and from first hand experience, renovations are expensive, and for many being able to keep up with the latest trends and home hauls can take its toll. You also have to wonder about the implications on the environment if we are constantly buying ‘stuff’ which may only serve us for a few months.

Therefore, I’ve put together a few tips below for any home and interior fanatics to read on those days where we feel we are not good enough or can’t afford to keep up with others.

  1. You are good enough

Everyone starts somewhere. Being you is why people follow you and your home in the first place. It would be no fun if all of our homes looked identical so make sure to stay true to what you like. If you love the new trends then please go ahead and buy them. But, if you prefer more unique pieces, then you buy those too!

Also, please remember ‘quality over quantity‘. Yes, consistency is key, but it’s better to post something you’re proud of, rather than becoming a content machine, just to ensure you keep getting likes and followers. Your mental health is much more important.

2. Have a phone free day

I am totally guilty for not heeding my own advice here. As we all know, Instagram is not always as it seems, and it can be easy to believe that the picture perfect photos are other people’s reality. Why not take a step back and do another task such as reading, learning, meditating, or another act of self-care that you really enjoy?

Additional advice I recently took on board was to ‘create more than you consume‘ (I will have to update the source when I remember). I spend hours scrolling through Instagram when my time would be much better spent researching or creating. It’s better for the mind and will provide a feeling of productivity. Get those positive endorphins flowing and leave the negative comparisons behind.

3. Swap the old for something new

If there is something you do want to buy, then why not sell some of your old unused items in order to fund it? I often list things I no longer need on eBay and let the money mount up for a few weeks until I have a little spending pot for things I want but don’t necessarily need.

I absolutely love a clear out and find that it really helps me to destress. Out with the old and in with the new as they say. Even just thinking about it makes my soul feel cleansed!

4. Give upcycling a go

Perhaps you have an item in your home which no longer suits your style, or you’ve seen something on items for sale which has caught your eye. Give it a little TLC and transform it into something new. It’s amazing what can be done with a lick of paint and new furniture hardware.

Facebook marketplace is such a treasure chest if you’re willing to look hard enough and will cost you just a fraction of the price that a new item most likely would (also reducing waste). Winner winner!

5. Don’t rush

Creating a space that feels like home takes time and should be an enjoyable journey. It’s so easy to rush into buying things simply to have content for Instagram or to feel like the rooms are finished. Imagine how wonderful it would be to dress your rooms with items that bring back happy memories or photos that fill you with joy as you slowly curate your collection.

If you can afford it, then great (and please tell me your tips!), but for those of us on more modest incomes, there isn’t often much left in the pot for decor and interiors after an extensive renovation! If you’re looking for ways to save then read my guide here.

6. Practice gratitude

It’s so easy to never be happy with what you have, so this blog will hopefully act as a little reminder of how far you’ve come. It’s also important to think back to a time when you wished for what you have now.

Even though it doesn’t always feel like it, there are people who really appreciate and admire what you have achieved with your home, as we do ourselves with those we follow on Instagram etc. We must take the time to feel gratitude for what we have accomplished. There’s so much to be grateful for when you take the time out to reflect! Make a little list and read or add to it if you’re feeling low.

So, what I’m basically saying is, please just do you! We’re all here to share what we love so it’s vital that we maintain the enjoyment of sharing our passion! If you have any further tips for ensuring the ‘fun’ in posting continues, or have any ideas for Instagram posts when you don’t have anything new to share, then please don’t hesitate to let me know in the comments.

The Renovation – Phase Three

Blimey… it’s been almost two months since I last blogged. You can tell that life is starting to return to some form of normality after lockdown, whatever that might be!

Anyway, I’m desperate to tell you all about the next phase of our renovation, so I’ve managed to secure a bit of peace and quiet this Sunday afternoon to finally get it written down.

Just as a recap, in case you haven’t read my latest renovation post, the plasterers had been and gone, and the first fix of electrics had been completed. Most walls were now reinstated and our 1930s shell was starting to look more like a house once again.

So firstly, say hello to our new doors! These oak beauties from XL Joinery have been hung in every room of the house (as well as a glass panel version from our hall into our dining room) and they really tie everything together. The soft wood tones with our chrome handles from Dale Joinery create a stylish consistency throughout and are a certain improvement from the hollow walnut doors of my nightmares that were left previously!

The next step following the plastering was mist coating! It’s amazing how much of a difference this phase makes. The rooms feel like they double in size and you really start to realise their potential. This is an essential step if you’ve freshly plastered so make sure not to miss it if you’re doing a renovation yourself. Simply water down a white emulsion paint to seal the walls and prevent any peeling.

It’s so funny looking back at our archive of photos as I can remember the excitement as each puzzle piece was added and the finish line became closer and closer. It’s such a warm fuzzy feeling so I apologise if I describe 90% of the renovation works as ‘exciting’.

We wanted a luxury feel to our bathroom so these marble effect tiles from B&Q were the perfect choice. Available in two shades, we used the darker tiles for the floor, and the lighter ones for the walls in order to create a bit more depth. We also thought the grey tones would suit the chrome taps and fittings that we had chosen.

However, while certain elements were coming together, there was still major destruction downstairs… check out the alfresco toilet! Don’t you agree that it’s a rather strange choice to put a downstairs loo in the kitchen? Safe to say we pulled that out rather quickly to gain more space and move the unpleasantness away from our cooking space!!

As mentioned before, the flooring levels in this space were ridiculously uneven so it was necessary to knock through the concrete flooring, so our builder could add floor joists to sort the issue. Fortunately for us, there were plenty of salvageable floorboards throughout the property, so we planned to reinstate these in our kitchen/diner. Restoring as much of the house as possible was really important to us, so to be able to reuse the floorboards was an absolute dream.

Here’s a further peek at the marble tiles on the walls and parts of the bathroom being installed. We actually reused the toilet from the previous owners as it was pretty new – a little cost saving (although we replaced the seat, don’t worry!)! I won’t say too much more about the bathroom, but I couldn’t help but show off a little more of the progress!

I’ve already gushed about the floorboards quite a lot in this post so it wouldn’t be fair to leave you without featuring them! There was a real mixture of colours from where they’d been painted over the years but nothing an industrial sander wouldn’t sort. Look how well they’ve all pieced together – they’re really going to help open up the space while pulling the two separate rooms together in one space.

Well, I think I’ll have to leave you on a bit of a cliffhanger here, as you’ll need to come back soon to see the finished floorboards, but hopefully it’s been interesting to see a little more of our journey.

However, if you have any questions at all about our renovation, then please don’t hesitate to leave a comment, and I’ll be more than happy to help!

9 things I wish I knew before buying a house

When you’re a first time buyer, it can be pretty daunting purchasing a house, as it is such a large commitment. We were fortunate enough to be able to confide in both sets of parents and draw on their experiences but this may not always be an option.

Signing up for a 30, 35, 40-year mortgage isn’t a light decision to make, especially when you haven’t done so before, so these tips should teach you a thing or two about what to expect when buying your first property

1.Get a mortgage in principal before you start looking

We weren’t seriously searching when we attended our first house viewing so we were caught short when we actually fell in love with it and wanted to make an offer. Luckily, we were able to get a sharp-ish appointment with a financial advisor, as we wanted to make sure that the seller knew we were serious when we made our offer. It was also really helpful to find out what we could afford and what our monthly payments would be so we wouldn’t be stretching ourselves too thinly.

Thankfully, we could comfortably afford the house we fell in love with, but imagine how heartbreaking it would’ve been if we couldn’t! If you’re still saving for your first home I’ve got some great tips for you here.

2. Don’t get too attached

We were gutted at the time (but relieved in hindsight), as we had to pull out of the first house sale, due to a major problem with the gable end.  The lesson to be learnt here; try not to get too attached too soon.

It’s hard not to walk away and envision your potential new living space full of all your belongings, but in reality there are a number of bumps in the road, which could whip your dream home away from underneath your feet in an instant. It’s great to be organised, but until those keys are in your hand, it’s important to remember that house purchases are not set in stone until the very last minute.

3. Your home survey will reveal problems

Fortunately for us, we have a builder in the family, who was able to inspect the house from top to bottom to highlight any potential issues. Not everyone is comfortable enough to buy a home without a survey like us, but hearing family members, the report can also seem incredibly scary when it lands in your inbox. There can be lots of red warnings and high numbers, but please rest assured that these are often easily sorted, and less frightening than they first appear.

Don’t forget that you can also use the survey for negotiation purposes or request that the existing homeowners repair or replace faults that have been highlighted. You may feel happy to fix any issues yourself, but the option is handy to have in your back pocket, if the value of the house is no longer what you’ve agreed to pay for it.

4. You are not a nuisance when asking questions

If you’re anything like me, then you feel like a massive bother when taking up someone’s valuable time. However, it’s important to remember that your estate agent is being paid to answer your queries, so ask away! Don’t be afraid to ask as many questions as you like. This is a big investment and you need to know all you can about your potential home. If they’re not able to answer your questions then ensure they ask the homeowner who should be able to help further.

5. Sorting the Help To Buy ISA contribution

Unfortunately, Help To Buy ISAs are no longer available to new customers, but those of you that already have them will find them to be a huge financial help. I cannot remember when I opened mine exactly, but I certainly had at least 6 months worth of government contributions to claim when our property purchase was coming close to exchange. Our solicitor asked us to go into our banks to close our accounts and request proof so that they could release the additional funds. Fortunately for my partner, he banked with Lloyds, who were able to carry out his request there and then in less than 10 minutes.

Frustratingly, Natwest informed me that mine would arrive via post five working days later. However, five stressful working days came and went and there was no sign of my closing statement. Bearing in mind our exchange date was drawing closer and closer (less than five days away). Turns out the member of staff hadn’t actually closed my account properly so they needed to make the request again!

I had to really kick up a fuss with the bank manager to get a photocopy sent to the branch, so that they could print it and give it to me in person, rather than wait for it in the post. Due to their mistake, I was so close to losing out on the government funded money! So, I suppose the story here is to be prepared as early as possible when requesting your Help To Buy ISA contribution. We almost got caught short!

6. Don’t be put off by others

When we first told people about our new home location, a few mentioned to us that they’d “heard the road was a bit of a rat-run” and that “parking will be difficult”. I’m terrible for worrying about what others think so I must admit that my brain was in overdrive wondering whether this would be a problem. However, we drove down the road on a few occasions at different times of the day, and soon found that it wasn’t as bad as the others had suggested.

While it may not be to their taste or preferences, you have to remember that it will be you living in the house, and if you’re happy with it then nothing else should matter (unless it’s falling apart of course!).

7. The property market can be cruel

The first house we made an offer on had actually already had a cheekily low offer accepted, so we were able to bid a little higher, in order to secure the property for ourselves (I felt quite bad, although we knew it was an investor, rather than someone looking to buy a home). As previously mentioned, this house fell through, but it meant that we were more cautious when viewing the second house we then made an offer on.

Within four hours of the house being put on the market, I had already booked a viewing, and within four hours of viewing the property we had already made our offer. We were so in love with this house (view how it first looked here) that we weren’t going to let anyone else view it if we could help it!

8. Patience is a virtue

I’m not the most patient person at the best times. I hate waiting and always feel out of sorts when things are left hanging in the air. Sometimes, you can go days or weeks without hearing any updates during your house purchase, but it can feel more like months and years, as you’re so excited! Miraculously, our house sale only took four and a half weeks to process, which seems unbelievably quick looking back (there was no chain!).

Just make sure that you’re keeping on top of the estate agents and solicitors where you can! Ask for deadlines for each stage of the process so you know when it is appropriate to chase further. Being as organised as possible with signing documents and returning them etc is your opportunity to speed up the process, so ensure you’re on the ball with this.

9. Use your first time buyer status to your advantage

Carrying on from the point above, as a first time buyer, you will be very desirable to a seller as you will not be part of a chain. An older landlady owned our house and the estate agent let slip that she wanted to sell before the winter; as it was unoccupied and she was worried about the pipes freezing.

My partner’s Dad made us aware that our position made us more attractive to sellers and encouraged us to lay this on heavy with the estate agent when he was negotiating with the seller. We had to sound like her perfect buyer on paper! Had we not known or highlighted this, we could have ended up paying over the odds for the house, or losing out to another buyer!

Hopefully, this blog will have taught you a thing or two about buying your first home, and you’ll feel more confident about the process.

If there’s anything you wish you had known before buying a house then please let me know in the comments. The more we can teach others based on what we learnt, the better.

Happy home buying!

The Renovation – Phase Two

So, we’d knocked a lot of walls over and pulled all ceilings down, but what happened next?

Well, when we removed all the carpet, we were delighted to find a variety of original floorboards in many of the rooms, such as the bedrooms and lounge. My partner’s Dad suggested we used these for the flooring in the kitchen/dining room, which would not only maintain a traditional element of the house, but also provide a big cost saving due to the size of the area.

However, this meant that the floorboards would need ripping up, and replacing with chipboard flooring in the rooms they had come from. Frighteningly, for a short while, the upstairs of our home was visible from the downstairs rooms! In the photo, you can see how we literally took the house back to the outside walls and joists, at this point!

Peekaboo!

As we were going to be relaying the floorboards, we needed to ensure the kitchen and dining room floor was level, which it certainly was not! It didn’t effect us too much luckily, but when we took up the existing flooring, we found that the extension built in the 90s was not constructed very well, and there was a clear slope from the dining room into the kitchen.

This was a time consuming job, and my Dad was roped in to help dig the concrete flooring, so that my partner’s Dad could create floor joists in the dining room to solve the problem. However, if we wanted our open plan kitchen and dining room, this was necessary work that had to be done (Dad still has nightmares about this as he lost his thumbnail from all the hammering – so sorry!).

Upstairs, it was also necessary to rebuild the studwork for the bathroom wall, which we had taken away to extend into the second bedroom (you can read about that here). This enabled us to create more space ready for our walk-in shower. Unfortunately, as we extended into the second bedroom and the shower was mounted on an outside wall, we were unable to have recessed shelves like I’d hoped (a minor disappointment in the grand scheme of things!).

As the house was built in the 1930s, we didn’t feel comfortable with trusting the existing electrics, and also wanted to make amendments to the plumbing. For those of you that have read my previous blog post, you’ll know that there are certain elements of a house build where you may feel more comfortable relying on a trained tradesman. Hands up, these were two jobs that we did not want to tackle ourselves!

The majority of the plumbing work happened when all the walls were dismantled, whereas the first fix of the electrics was carried out once the plasterboard was in place. It’s so hard to decide where you want the plug sockets to go when you’ve never lived in the house and there are no walls to to help you envisage their placement! It turns out that 90% of the house got rewired in the end! The plumber had to reefed pipes into the bathroom and kitchen, and also relocated a number of radiators.

One of my requests was that the upvc windowsills were replaced with pine, as I felt this would be much more in keeping with the rest of the house. I’m so glad that we did, as they are subtle and traditional, and align with the architraves and skirting. We needed to make sure these were in place before the plastering could be done.

Thankfully, my partner and his Dad were able to do all the plasterboarding and they also sorted the blue grit to save on cost, but again, we felt it was important to hire professional plasterers to get the finish spot on. It’s amazing how much the house changes after the plasterers have been and gone!

It’s crazy to think how much hard work goes on behind the scenes that you don’t consider when you view a finished house! I’m so glad I took plenty of photos to document the process, as I’m not sure some of our family and friends would have believed what went on! Have you had a similar experience with your renovation?

If there’s anything about this phase of our journey that you’d like to know more about, then please don’t hesitate to let me know in the comments, and I’d be happy to help!

Follow my blog with Bloglovin

11 Tips for How to Save a House Deposit

Buying a house can feel like a million miles away when you have nothing in your savings account. Trust me, I’ve been there. However, with some hard work and determination, saving for a house deposit is certainly not out of reach.

If you’re sat at home wondering how you can get started, then please read these top tips, which will enable you to ‘build’ your funds in no time.

1. Have a goal

This first step is an easy one. You want to buy your first home (or perhaps an investment property such as a buy to let). Write your goal down and break it into manageable chunks. What do you hope to have achieved in a month, three months, six months, a year and so on? It’s so much easier to progress towards an objective when it feels less like the top of a very steep mountain.

For the creative ones out there, you could also put together a vision board, with images of your ideal home and all the aspirations you have for the interiors etc. You can then place it in a location likely to motivate you, such as the front of the fridge in the kitchen, or on your desk at home or work. A clear idea of what you’re working towards will help when you’re making small financial sacrifices or thinking about dipping into those hard-earned savings.

2. Remember to bank transfer on payday

Figure out how much of your income you wish to save per month and remove this from your bank account as soon as possible. One option is to set up a direct debit meaning that the money comes out of your account on a specified date without the need to lift a finger. This prevents any big splurges at the beginning of the month, as well as removing temptation to dip into this amount, if it’s left in your bank account until the end of the month.

If you struggle to leave your savings untouched, a solution could be setting up a savings account with another provider, so that you cannot see this within your main banking app or transfer between accounts as easily. This may stop your growing savings from shouting out at you to be spent on clothes or eating out!

3. Create a budget

Sade at the Penny Pal has a fantastic spreadsheet available for download to help you keep track of all your spending. For me personally, this has been such a useful tool, highlighting bad behaviours, while also making sure I’m accountable for my outgoings. There is also a pre-populated formula, which enables you to work out how much you can save over the course of the year, based on how much you’re planning to put into savings each month.

It’s really useful to look back at your budget at least once a month to determine any lessons that can be learnt. A top tip from me is to download the Google Sheets app on your phone so that you can track transactions while on the go. It may seem like a pain to start with, but once it becomes a habit, you will learn so much and feel more in control.

4. Use savings apps

There are a number of lifesaving apps available to assist you in managing your money and savings. My ultimate favourite is Plum, which uses an algorithm to take small savings payments from your main account, when it recognises that you can spare them. There is also the option to round up any payments that you make, which is great for adding more to the pot! I find that I can often save an additional £100 a month with Plum and I often don’t even notice the money disappearing from my account as the amounts are little and often!

Yolt is a super app for those that like to be organised with their outgoings. It monitors what is leaving your bank account and allows you to categorise the payments. This is especially useful for highlighting where you spend the most money, whether that’s shopping, eating out, holidays or leisure! It also alerts you when direct debits are due to come out of your account and when you have less than 10% of your income remaining.

5. Reduce your outgoings

Once you have introduced a budget tracker, you will clearly see where your money is being ‘wasted’ or misspent. For example, are you a member of the gym but haven’t visited in over three months? Or, do you have a Netflix login but the only person making use of it is your ex-partner? These are both savings you want to make pronto! Cancel any unused subscriptions and put that now spare cash straight into your savings account.

You could also make amendments to your outgoings. For example, is your car finance up for renewal? Insurance, mobile phone contracts, and TV package etc can all be negotiated at a better price when you come to the end of your agreement. Money Saving Expert has a whole host of excellent tips for when you call the customer retainment teams. Make them work harder for your hard earned cash!

6. Use cashback websites

When my friend told me about cashback websites I found it hard to believe, as it just seemed too good to be true. However, after joining a site and being a member for over three years, I can confirm that they do just what they say on the tin! Topcashback and Quidco are two I can highly recommend. To this date, I have claimed over £800 from a variety of retailers, including Topshop, ASOS, Boots, TUI… the list goes on!

All you have to do is make sure you visit the website and use it similarly to a search engine before making a purchase. Simply search the store you want to buy from on the website, click through, and purchase as normal. It just sounds too easy doesn’t it? But it works! They also often share discount codes to use to help you save even more money.

7. Try a few ‘no spend’ days or weekends

You may be thinking ‘that’s impossible!’ but I promise you it can be done. Are you a sucker for a Starbucks? If so, why not take a hot flask to your local park. Are your friends suggesting a big night out? Invite them over for cocktails and use up old spirits in the cupboard (after lockdown!).

Sometimes we need to make sacrifices to meet our goals. When attempting a ‘no spend weekend’ make sure to consult your vision board, as this will help you to resist any temptations. Create meal plans, re-shop your wardrobe, and walk where possible to make cutting costs easier. As they say, “fail to prepare, and you prepare to fail”.

8. Start a ‘side hustle’

This is becoming a growing trend, with data from a Hiscox survey suggesting that the annual income from the average side hustle is a whopping £6,605! I’m sure each and every one of you has a desirable skill that will be useful to others so why not channel that into creating extra funds for yourself?

Perhaps you’re crafty and can make stylish prints or knit funky throws! Or maybe you’re a pro at social media and can help small local businesses improve their strategies? Monetise your skills and add to those savings! There are also a number of other ways to increase your earnings, such as taking part in online surveys or creating a blog on your favourite subject and adding advertising platforms.

9. Sell old items

Do you have a lot of unused stuff? I’m talking clothes, books, household items etc. If so, then why not try selling these items on a site such as eBay, Vinted, Depop, Gumtree or even Facebook Marketplace. It’s amazing what you can shift when you start listing your things. Not only that, a cleanse of your belongings is good for the soul, and it means you’ll have even less to take with you when you move home!

You could even try upcycling some of your old furniture to make the pieces even more appealing to buyers. However, this comes with a warning as you may end up falling back in love with it, and deciding to keep the item for yourself!

10. Don’t go too hard!

Please make sure that you’re not too strict as you will be more likely to ‘fall off the wagon’. I’d recommend not saving all of your spare cash, as more often than not it is not manageable, and you will not stick to it.

If you want to buy yourself a ‘nice top’ or fish and chips on a Friday night, then please allow yourself some treats, but also make sure you know when to stop. A full ASOS basket or a Pret lunch every day will not help you reach your house deposit savings goals.

11. Reduce temptation

Now that you’ve introduced a budget into your life, you’ll soon see where you your ‘little devil’ crops up and encourages you to be spendy! Buying clothes is my vice, so I try to avoid organising any shopping trips, or popping into town on my lunch break.

A solution that really worked for me was unsubscribing from any marketing emails so there were no special offers dropping into my inbox! As Kae from Pennies to Pounds always says, “Buying something at a discount that you had no intention buying in the first place isn’t a bargain, just an unnecessary purchase”. It hurts…but it is so true!

Hopefully the 11 tips in this post have made you feel more motivated than ever and you’re ready to begin saving for your house deposit. If you have any questions, or any additional tips to add to this list, then please let me know in the comments below.

I wish you the best of luck and would love to hear any success stories!

Can you renovate a house yourself? Or should you hire a professional?

Perhaps you’re considering whether you should take on a renovation project or opt for a new build? While both have their positives and negatives, renovations are often a popular choice, as they can be significantly cheaper, and present the opportunity to put a stamp on your home.

However, undertaking a house renovation can present many dilemmas and challenges before you have even begun. It’s important to consider a multitude of things before going ahead and securing an offer on a tired and rundown house.

One of those initial decisions should be whether you intend to renovate the house yourself, or instead hire a team of professional tradespeople to carry out the work. Here, we help you decide which way you’re going to attempt a fixer upper!

Write a pros and cons list

Again, both have their advantages and disadvantages, so one of The Renovation Lab’s top tips is to write a pros and cons list. Weigh up the options and you will soon be able to see which list makes you feel more comfortable.

If you’re on a low budget, then undertaking tasks yourself can provide huge savings, and there are plenty of great tutorials on the Internet to guide you along the way.  Maybe money isn’t such an issue, but you’re tight for time, and getting the professionals in will speed up your transformation.

It’s important to make the decision that is right for you and your goals so this list will ensure you get your priorities in order.

Consider a mix and match method

While you may feel your handy skills stretch to stripping wallpaper and ripping out the old kitchen units, it is usually best to call in a professional to take down any supporting walls, or contact the experts for plastering. Nobody likes an uneven wall, and it will bug you forever, so it often pays to invest in the right assistance.

Write a list of all the tasks you expect to encounter during your renovation and jot down where you think you will need professional help. This can help you see where costs are likely to arise, but also where you can save some funds by getting your hands dirty.

This article gives fantastic advice about what you can tackle yourself and what is best to leave to the pros.

Call on friends for support

Our decision was made easy for us, as we have a builder in the family, as well as a number of close friends in the trade. As they say, it’s not what you know, it’s who you know, and we found this to be especially true!  You’ll be surprised how many people are willing to lend a hand, especially if you offer an incentive or two, such as one day returning the favour!

While we appreciate everyone might not be so lucky, it’s also worth asking friends for recommendations of reliable tradespeople, as knowing someone you trust has experienced a positive service will give you peace of mind.

Utilise your expertise

Are you a fine artist in your spare time? Then why not try exchanging your fine paintbrush, for one with a thicker handle, and save yourself some cash at the same time. It can feel like a real accomplishment when you make changes to your own home, especially when you sit back and reap the benefits when it’s all finished.

I don’t have any particular DIY skills, let’s be honest, but I was given the job of sanding the staircase spindles and banister. This was mainly due to my personality trait of being a perfectionist, which meant I was determined to get rid of as many layers of varnish as possible, and make sure everything was neatly sanded before we primed and painted. Use your abilities to your advantage!

Consider building regulations

You might be confident that you can carry out the physical task of a renovation, but it’s imperative that your knowledge is also up to date and that your build complies with any necessary legal requirements. We highly recommend that you consult with any professionals when it comes to extensions and other similar endeavors.

It would be heartbreaking for all your hard work to be undone, following a visit from the building inspector, when it isn’t up to their strict standards. If you’re preparing to improve your home then there is a wealth of useful information regarding planning permission on the Citizen’s Advice website.

Be prepared to project manage

If you are looking to hire professionals to help with renovation work for particular tasks, please be prepared to project manage. Organisation is also key. If your electrician is ready to second fix, but your plasterer has phoned to say they’re not available for another month, then you have a problem on your hands. Delays are inevitable, but you must be willing to be flexible, while also being firm enough to ensure the project keeps moving and the jobs get done.

It can sometimes feel easier to ask for favours from friends and relatives in this instance, but often they can be the hardest to manage, for fear of feeling cheeky or applying too much pressure. Just something to bear in mind when scheduling each phase of your renovation.

The scope of the project

Let’s say you’re capable of carrying out the works on your renovation venture. If you are planning a large-scale project, then you may need more than your single pair of hands, or the help of your friend, parent or partner.

If you’re working towards a tight deadline, then it can pay to have additional workers on site; so more than one task can be tackled at a time. However, some builders may like to be left to their own devices, so check out their preferences before you assume they will work with you.

DIY renovation vs. professional contractor

Hopefully this article has given you a starting point from which to begin investigating the best option for you. Everyone is different, so what may be right for someone else, may not be right for you.  Therefore, it’s really important that you take the time to figure out a strategy before you steam ahead.

With all that being said, please don’t be afraid to give renovation a go. It’s incredibly rewarding, whether you decide to give it a go yourself, or hand over the responsibility to the professionals. You’re in charge of the decisions and that’s the most important thing when making a house your home.

What did you decide to do? Let me know in the comments!

Getting started…the destruction phase!

I’ll never forget my partner’s Dad’s words…

“I’ve just devalued your house by about £40k in 48 hours!”

Eeeeek!

The pace at which two guys managed to dismantle the walls and ceilings was quite frankly unbelievable! The house was a shell of its former self in what felt like minutes.

At first, we thought we would simply need to redecorate, but soon discovered that the existing walls were constructed of lath and plaster (narrow strips of wood are nailed to the stud walls or ceiling joists and are then coated with plaster – very old fashioned!).

While we could have simply painted or wallpapered over this, our builder suggested we do a ‘proper job’ (said in a Devonshire accent), and start with a clean slate. It was going to be a lot more time consuming, but would provide us with a much better finish, so we happily took his advice.

It was a messy process to say the least, causing a mega tonne of dust, with rubbish filling reams and reams of rubble bags. However, the latter could be used as kindle wood, which saved us many trips to the recycling centre, as many friends and relatives were quick to take this off our hands.

If you’ve gone through a renovation yourself, you’ll know that the sheer amount of tidying required seems never ending, but there is something so satisfying about removing all the old material. Very cleansing for the soul!

For the most part, the structure of the house would be staying the same, but there were a couple of walls that needed knocking down completely, to achieve our desired layout.

In my previous post, you can see how the house looked when we purchased it, and you will find a photo of the tiny bathroom. It was important to us that this room was made bigger, so we decided that we would extend into the second bedroom, by the width of a shower tray.

The idea was to install a walk-in shower with a glass panel to give the illusion of more space. We removed the studwork here, and in the photo below you can see the makeshift timber marker on the floor, which shows where the new divide will sit.

The next wall on the deconstruction list was the one that separated the kitchen from the dining room. We had lusted after an open social space so this was our answer! Luckily for us, it was a badly constructed breeze block wall (it had been part of an extension), so it fell down without too much effort. The door into the dining room would later be boarded up so that there was just one entrance into the new hub of our home.

Admittedly, this hasn’t been the prettiest of blog posts, but I think there’s something so fascinating about seeing the stripped back insides of an older property, and what really goes into renovating a home behind the scenes!

If you have a similar post sharing your renovation journey, I’d love to read, so please share in the comments below.

1930s terraced House

Number Twelve – The ‘Before’

My first home.

Picking up the keys has to be one of the proudest moments of my life. Opening the door for the first time without the presence of an estate agent. Sitting on the stairs, taking in the surroundings, without a want of being anywhere else but in your very own four walls. A feeling I will never forget.

We had decided to take on a project. With a builder in the family, and a want to put our own stamp on things, the decision was a pretty easy one. Plus, the idea of being able to add value to our new investment, was very appealing too.

Silently agreeing during the first viewing that this was the house for us, we put in our initial offer, and with a little to-ing and fro-ing came to an agreed price. We recognised the potential straight away, and fell in love with the spacious layout of the three bed terrace, along with its 1930s quirks.

The property had previously been a rental, so it was liveable, but the decor was dated and tired. The kitchen was narrow and had an odd downstairs loo within it, so we planned to remove the toilet, and knock down the wall between the kitchen/diner to open up the space. The flooring throughout certainly needed a refresh and the walls would need redecorating, but initially the amount of work didn’t seem too overwhelming.

However, on second thoughts, the more we looked at it, the more we felt that we wanted to do it ‘properly’. The to do list soon doubled! From rewiring the electrics and replacing plumbing, to taking the walls and ceilings right back to the studwork, it seemed foolish not to when we had access to friends in the trade and just enough in the budget to cover it.

Despite the garish floral wallpaper and ugly gas fireplaces, hopefully you too can see why we fell in love with the house, and imagine the full potential it has! I’ll be back very soon with more details and photos of our extensive renovation journey.

Please tell me the stories of buying your first home in the comments below. I’d love to hear them! You can also find out more about me here.

The ‘LAB’ in Renovation Lab

So, my name is Lauren Ashton Beardsley, and I am the ‘LAB’ in renovation lab. I’ve created this blog to share my renovation experiments, and document my future journeys involving renewing and restoring.

Let me tell you a little about me and my home… I live in the beautiful county of Devon in South West England. North Devon will always be my home, and always has been since I was born, other than a short stint in London for university (the fast-paced way of life was just not for me!).

I bought my first home here with my partner in December 2016, and we have been renovating ever since, although this has mostly been completed by my partner’s Dad (we are very lucky to have a builder in the family!).

I work in marketing for a local builders merchant, which has also been very handy, especially when we’ve needed tips and advice regarding materials.

We love our 1930s terraced house so much, but I can’t help but feel like another project will one day be in the pipeline, as we’ve thoroughly enjoyed the process of this one! However, we’d have to live in the next property while it’s being renovated, which could be a completely different story! (I plan to write about our first renovation in much more detail, so please check back again to see more!)

Perhaps you’re looking to buy a ‘doer-upper, half-way through your renovation journey, or simply love seeing before and afters; either way I hope you enjoy following my experiments and experiences. I know I took plenty of inspiration from others when I was imagining and planning my new home, so I want to share my results, and would love to be able to connect with others who have similar interests (although I’m always open to see different tastes too!).

I cannot wait to see how this blog develops and grows, and hope to make many new friends along the way! Please say hello and introduce yourself/blog in the comments 🙂